
POPULACE
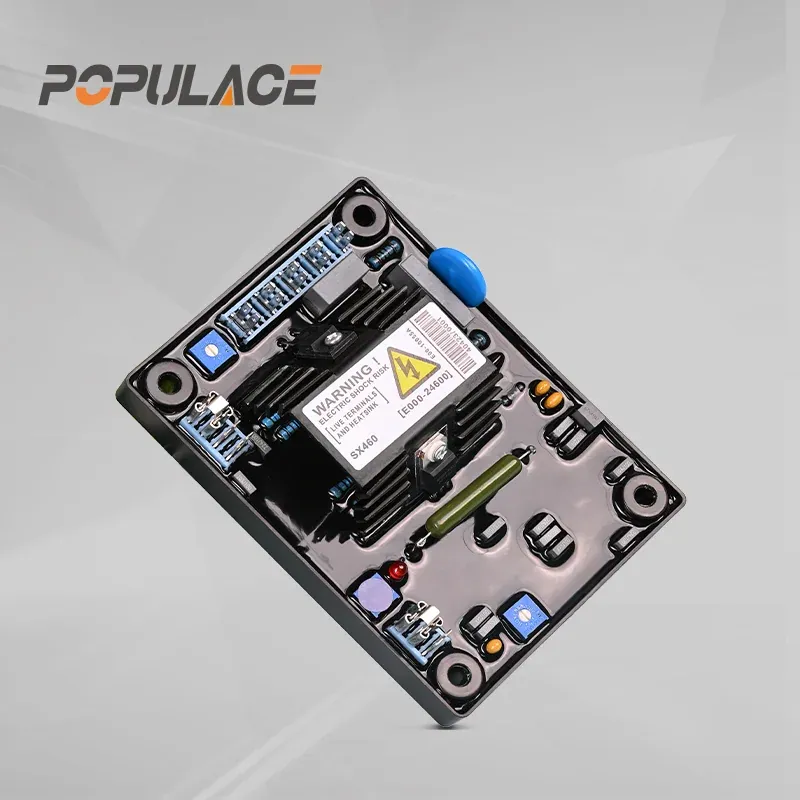
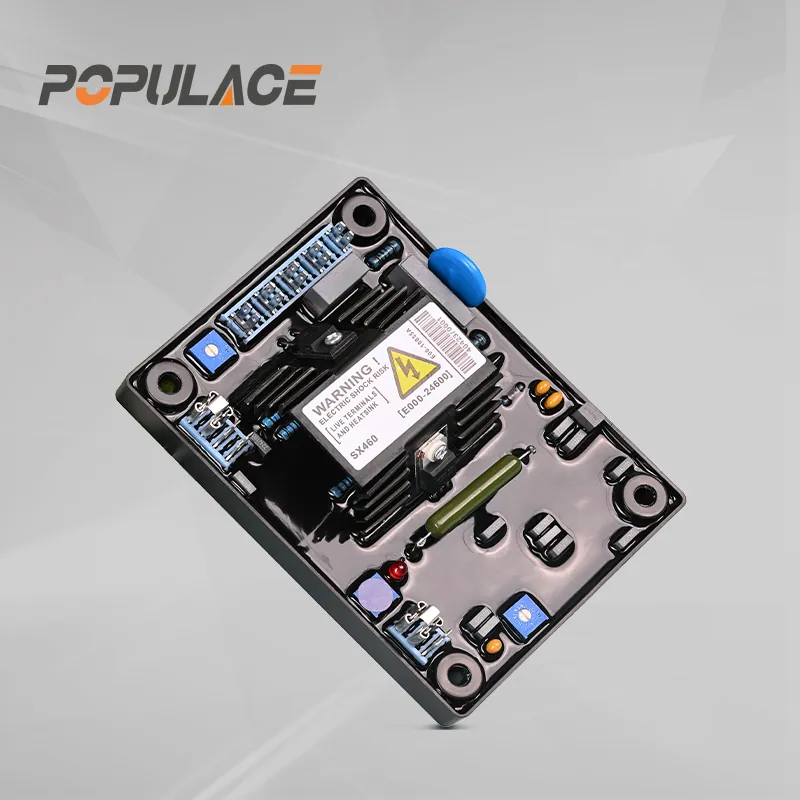
Generator Automatic Voltage Regulator Stamford AVR SX460
Model: SX460
Compatible SX460 generator AVR voltage regulator with complete technical manual PDF and wiring diagram. 100% bench-tested, 13-month warranty, in stock.
| Warranty | 13 months |
|---|---|
| Place of Origin | Fujian, China |
| Brand Name | POPULACE |
| Model Number | SX460 |
| Overall Size | 175×150×65mm |
| Weight | 0.4kg |
| Certification | CE,ISO9001 |
| Sensing Input | 120V / 240V AC (jumper selectable) |
| Excitation Output | Max 90V DC @ 4A continuous |
| Voltage Regulation | < ±1.0% RMS (4% engine governing) |
| Under-Frequency Protection | 95% Hz knee point (Red LED indicator) |
| MOQ | 1 pc |
| Lead time | 2-3 days (in stock) |
Applications
- Standby and prime diesel generator sets fitted with Stamford alternators in telecom, data-centre and hospital backup power
- Commercial and industrial gensets requiring stable output voltage under varying load
- Alternator rewinds and rebuilds where the original AVR is obsolete or damaged
Product Description
The SX460 is a half-wave phase-controlled thyristor type Automatic Voltage Regulator (AVR) designed for shunt-excited brushless AC generators. Operating as a closed-loop control system, it samples the generator stator output voltage and continuously modulates DC excitation current to the exciter field winding, holding terminal voltage within tight limits under varying load conditions.
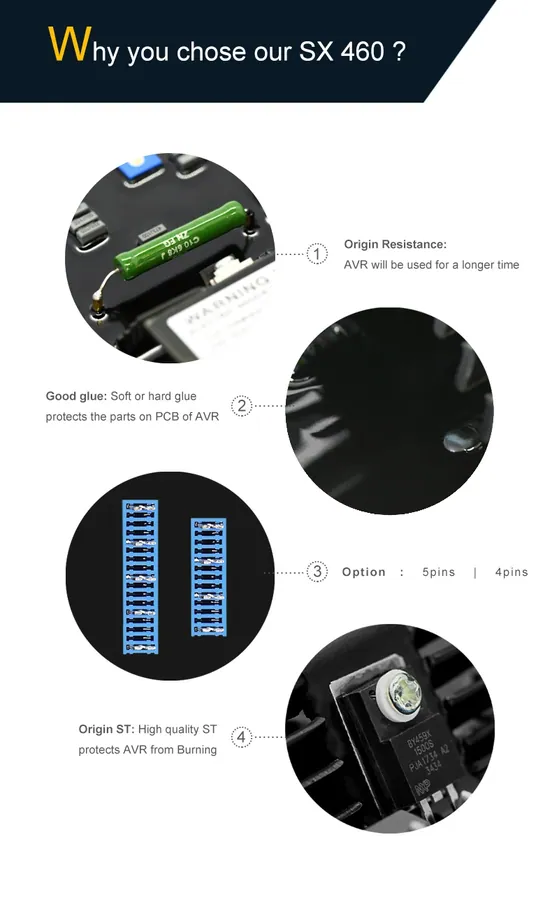
This POPULACE replacement module is 100% pin-compatible, dimensionally identical, and electrically calibrated to match original Stamford SX460 specifications across industrial and marine generator applications up to 150 kVA.
Technical Specifications Matrix
| Parameter | Operating Limits & Standards | Notes & Field Conditions |
|---|---|---|
| Sensing / Power Input | 95–132 VAC (120V) or 190–264 VAC (240V) | 1-phase 2-wire; selected via push-on link |
| Frequency Range | 50–60 Hz nominal | Jumper selectable (50 Hz or 60 Hz) |
| Excitation Output | Max 90 VDC @ 207 VAC input | Continuous 4A DC; Intermittent 6A for 10 s |
| Field Circuit Resistance | 15 Ω minimum | Ensures thermal stability of output thyristor |
| Steady-State Regulation | < ±1.0% RMS | With 4% engine governing |
| Thermal Drift | 0.05% per °C change in ambient | Measured after 10-minute warm-up |
| Typical Response Time | AVR: 20 ms; Field current 90%: 80 ms | Machine volts recovery to 97%: 300 ms |
| Under-Frequency Knee | 95% of nominal frequency (47.5 Hz / 57 Hz) | Slope 170% down to 30 Hz; Red LED indicator |
| External Volts Trimmer | ±10% with 1 kΩ 1W potentiometer | Connected across terminals 1 & 2 |
| Residual Build-Up Voltage | 4 VAC minimum at AVR terminals | Below 4 VAC requires field flashing |
| Operating Temperature | -40°C to +70°C | Relative humidity 95% non-condensing |
Terminal Connections & Jumper Configuration
All terminals use 6.3 mm (1/4 inch) spade connectors. Confirm all connections before applying generator power:
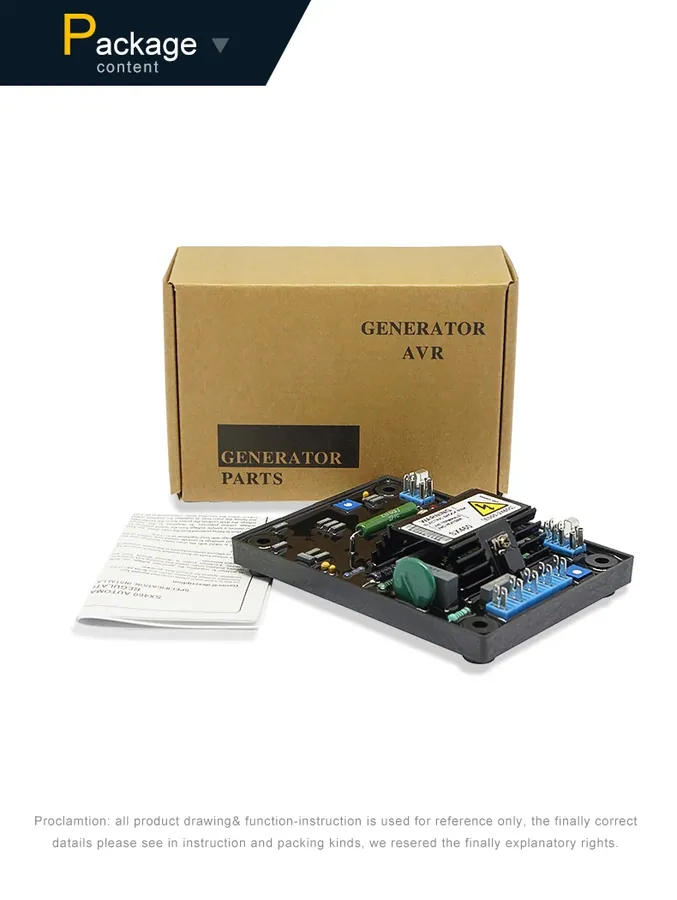
- Terminals 1 & 2 (External Volts Trimmer): Fitted with a shorting link from the factory. If a remote voltage adjustment potentiometer (1 kΩ, 1W) is installed, remove the link and connect the trimmer across terminals 1 and 2. Warning: Never ground either trimmer terminal.
- Terminals 3 & 4 (Power Input): Receives single-phase AC power from the main stator winding or auxiliary winding.
- Terminals 7 & 8 (Sensing Selection): Connect a link across terminals 7 and 8 for 110V/120V sensing (95–132 VAC). Leave terminals 7 and 8 open for 220V/240V sensing (190–264 VAC).
- Terminals F+ (or XX) & F- (or X) (Exciter Field Output): Direct DC connection to the brushless exciter stator field winding. Observe strict polarity: F+ to exciter positive, F- to exciter negative.
- Frequency Selection Push-On Links:
- 50 Hz Operation: Link connected between C and 50 (knee point factory set at ~47.5 Hz).
- 60 Hz Operation: Link connected between C and 60 (knee point factory set at ~57.0 Hz).
Step-by-Step Potentiometer Calibration Procedure
Before initial operation or after replacing an AVR, complete calibration in the following sequence:
- Initial Pre-Start Settings:
- Turn the [VOLTS] potentiometer fully counter-clockwise (prevents accidental over-voltage on initial spin-up).
- Set the remote hand trimmer (if installed) to the 50% midway position.
- Turn the [STAB] (Stability) potentiometer to approximately 50% (midway).
- Voltage Calibration:
- Start the diesel generator with no electrical load and run up to nominal engine speed (50 Hz or 60 Hz).
- Verify the red UFRO LED is off. If illuminated, check engine RPM or adjust the [UFRO] trimmer.
- Slowly rotate the [VOLTS] potentiometer clockwise until terminal output reaches rated nominal voltage (e.g. 230V or 400V L-L).
- Stability Calibration (Preventing Hunting):
- With the generator running at rated speed and voltage, slowly turn [STAB] counter-clockwise until output voltage begins to hunt or oscillate.
- Rotate [STAB] slowly clockwise until voltage stabilizes completely, then rotate an additional 1 to 2 small divisions clockwise to lock in optimal dynamic response.
- Under-Frequency Roll-Off (UFRO) Setting:
- Lower the engine governor speed to exactly 95% of rated frequency (47.5 Hz for 50 Hz systems; 57.0 Hz for 60 Hz systems).
- Rotate [UFRO] clockwise until the red LED on the AVR board just turns on and terminal voltage starts dropping proportionally.
- Return engine speed to rated 100% RPM; verify the red LED turns off and voltage recovers to normal.
Field Troubleshooting & Exciter Flashing
- Symptom 1: No Output Voltage (Fails to Build Up Residual Voltage)
- Cause: Generator idle for long periods or loss of residual magnetism in the exciter core.
- Corrective Action: Check residual voltage across terminals 7 and 8 while running. If below 4 VAC, perform field flashing: disconnect F+ and F-, and connect a 12V DC battery momentarily across exciter field leads with a reverse-blocking diode in series with the positive lead (positive to F+, negative to F-).
- Symptom 2: Output Voltage Too High and Cannot Be Adjusted Down
- Cause: Sensing link 7-8 incorrectly fitted on a 220V system, sensing lead open-circuit, or power thyristor shorted.
- Corrective Action: Verify sensing link 7-8 is OPEN for 220V/240V systems. Inspect wire harness for broken sensing lines.
- Symptom 3: Severe Voltage Drop When Load Is Applied
- Cause: Engine speed drooping below UFRO knee, UFRO set point adjusted too high, or exciter field resistance too low (<15 Ω).
- Corrective Action: Measure generator frequency under load. Verify engine speed does not dip below 47.5 Hz (50 Hz set) or 57 Hz (60 Hz set). Check field winding resistance with an accurate multimeter.
Generator Automatic Voltage Regulator Stamford AVR SX460 — Connection & Terminal Verification
Electrical pinouts, terminal blocks, and sensing wire inputs must match your generator panel layout before applying power.
Need help checking terminal compatibility?
Send a clear photo of your existing controller label and rear wire harness to our technical team.
Reference Schematics & Terminal Layout
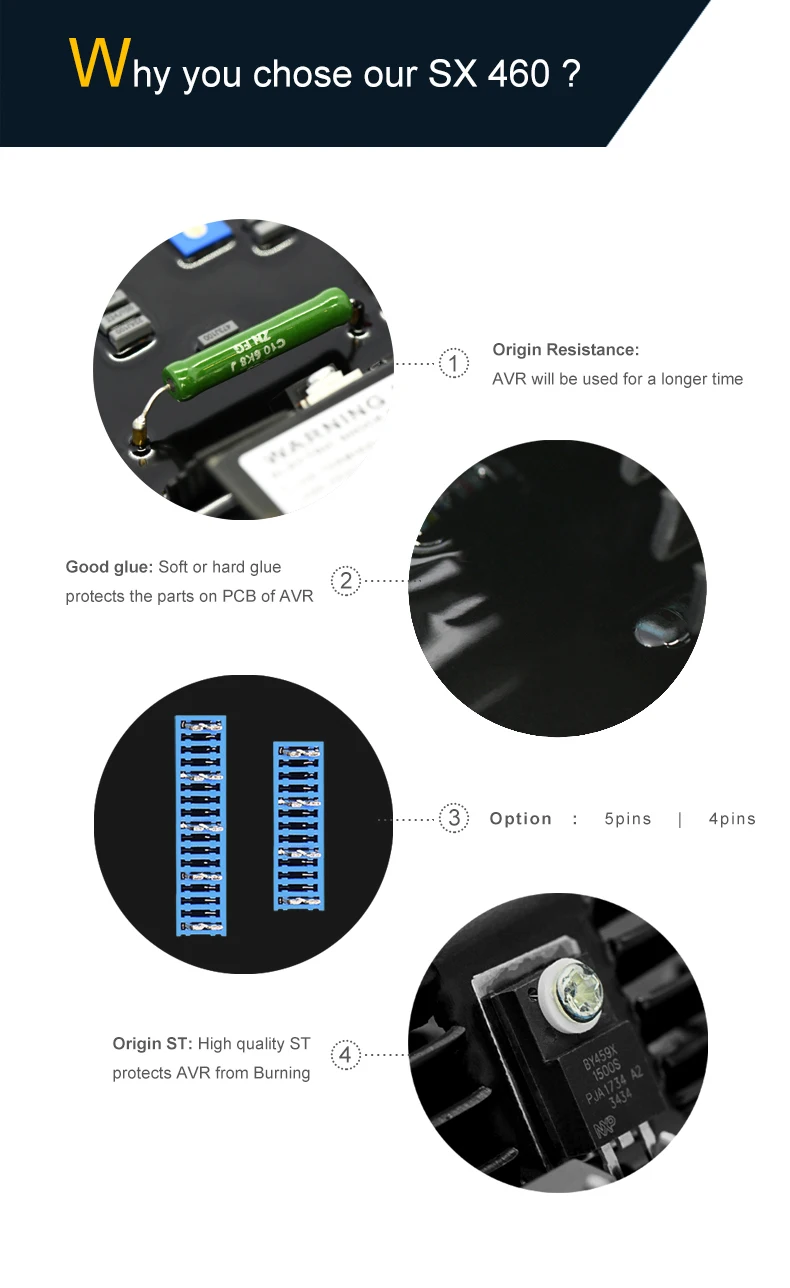 Terminal & Connection View #1
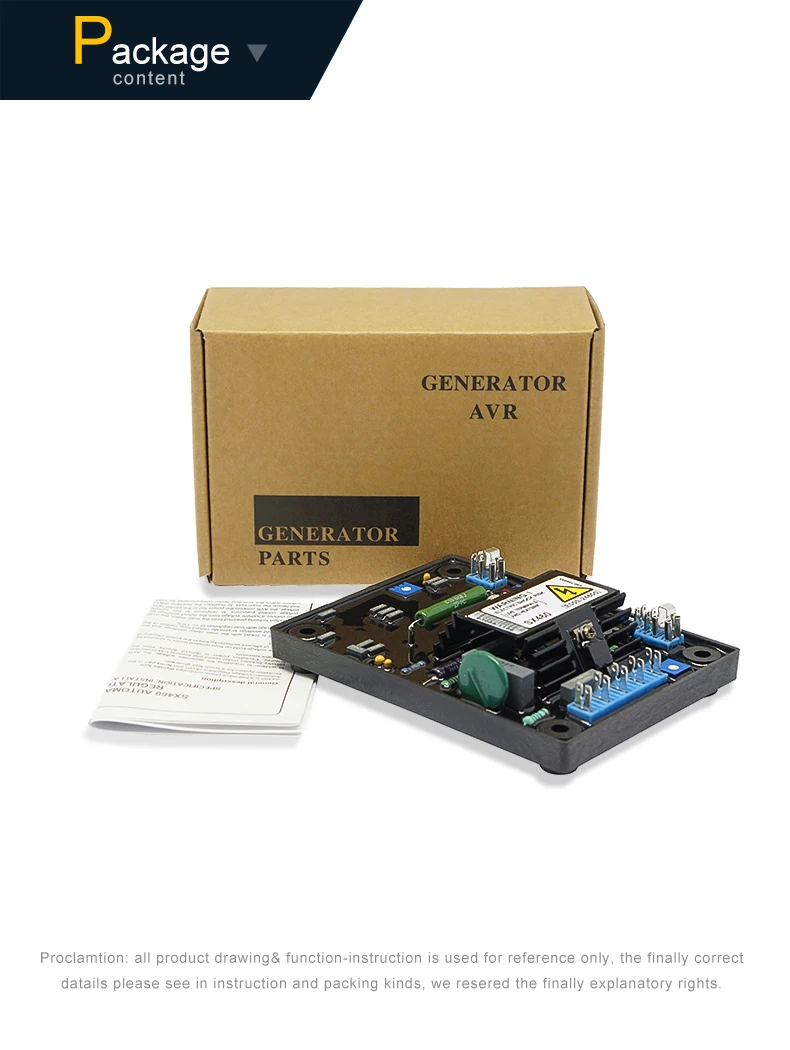 Terminal & Connection View #2
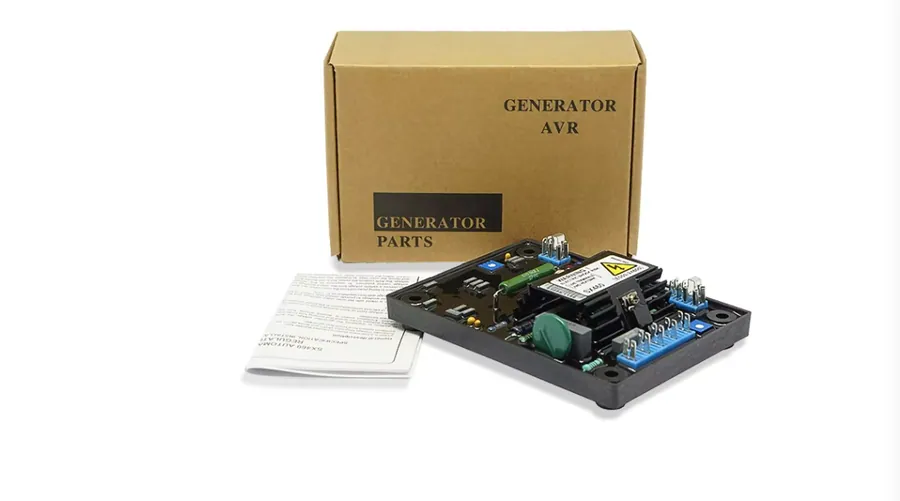 Terminal & Connection View #3
Technical Manual & Documentation
Generator Automatic Voltage Regulator Stamford AVR SX460 Technical Documentation
Verified POPULACE replacement reference document
FAQ
This POPULACE unit is a 100% form-fit-function compatible replacement for the Stamford AVR SX460. Send a photo of your alternator nameplate (model, voltage, frequency) and our engineers confirm the match against SX460 before dispatch.
Yes. Output voltage, stability adjustment and protection functions are bench-tested on every unit, and the test record travels with your order.
Yes. The complete 5-page technical manual with wiring diagrams, jumper configurations, and potentiometer calibration instructions can be downloaded immediately using the [Manual (PDF)] button on this page.
The full technical specification sheet and installation manual for SX460 are available directly via the download button above or in the Manual & FAQ tab.
The SX460 requires a minimum residual voltage of 4V AC at its terminals to start excitation. If the generator has been idle or de-magnetized, flash the exciter field momentarily with a 12V DC battery across terminals F+ and F- with a series-blocking diode to restore residual magnetism.
Stamford AVR SX460: overall size 175×150×65mm, shipping weight approx. 0.4kg. Send your panel or packing constraints and we confirm fit.
Stamford AVR SX460 is covered by a 13 months factory warranty. Quality issues within the term are replaced or repaired at our cost.
Stamford AVR SX460 carries CE,ISO9001 certification from our ISO9001-certified Xiamen facility.
Yes. POPULACE Electronic Co., Ltd. manufactures generator parts in Xiamen, Fujian - factory visits are welcome.
Yes. Samples are available for testing; express freight (FedEx, DHL, UPS, TNT, Aramex) typically delivers within 3-7 days.
In-stock items ship 2-3 days after payment; larger batches are produced in 3-7 days. Sea, air or express shipping is arranged to your preference.
T/T, PayPal, Western Union, MoneyGram, Alibaba order link and RMB transfer are all supported.
Related Products
Compatible generator parts & matching system accessories.
Technical Guides & Troubleshooting
Engineering diagnostics, terminal wiring diagrams, and parts replacement procedures.
Stamford SX460 vs MX341 vs AS480: Which AVR Does Your Alternator Really Need? (2026 Engineering Guide)
Selecting between Stamford SX460, MX341, and AS480 AVRs depends on your alternator frame, excitation source (Shunt, PMG, or EBS), and load profile. Here is the full engineering breakdown.
Read Guide → Engineering GuideGenerator AVR Not Producing Voltage: 5 Causes and How to Test Them
A generator that runs but produces no power is most often an excitation or AVR problem. Here are the five causes we see most in the field, the multimeter check for each, and when the regulator itself needs replacing.
Read Guide →20 Years Experience for Genset Parts
POPULACE has 20 years of experience supplying generator parts worldwide — reliable, OEM-compatible, and built for continuous operation.
Get a Quote